
Centering Clay on the Wheel: A Beginner’s Troubleshooting Guide
A practical guide to fixing off-center pots, covering clay prep, wheel speed, hand bracing and water control, with a diagnostic checklist and a short practice routine.
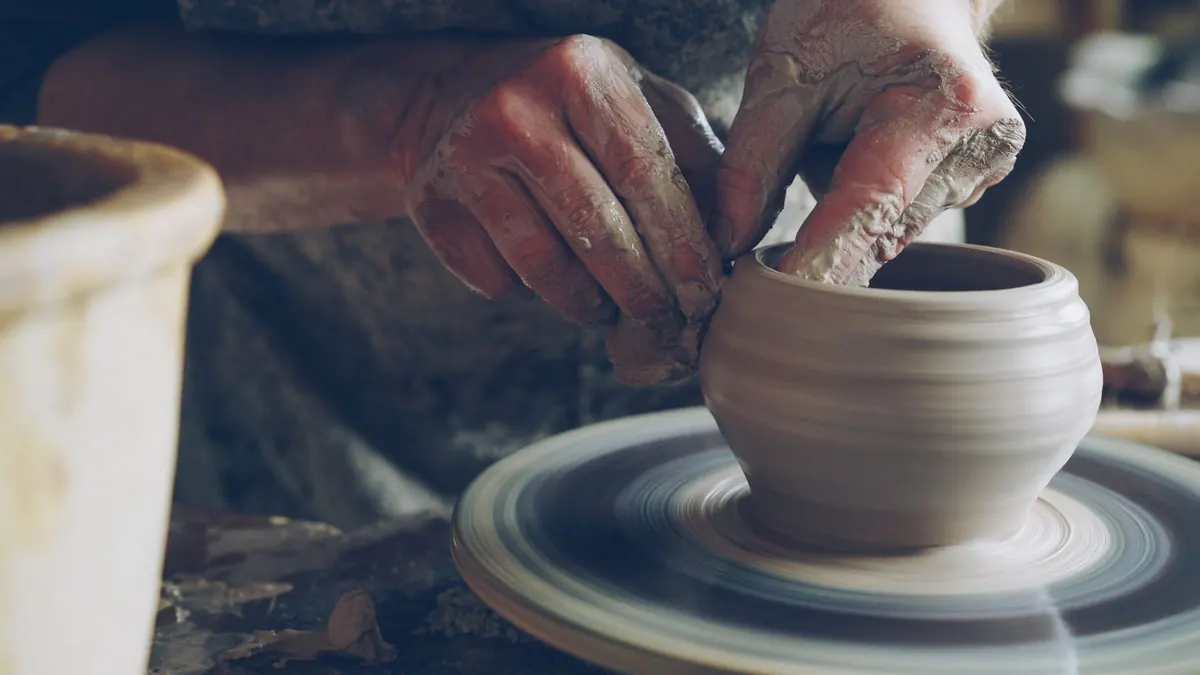
You wedge the clay, slap it onto the wheel head, brace your arms and press. For ten seconds it looks fine. Then a wobble creeps in at the top, your fingers chase it, and suddenly the whole lump leans like a tower in a windstorm. Every potter knows that moment, and most beginners spend their first month living in it.
The encouraging part is that centering failures are rarely mysterious. They almost always come down to four things: the condition of the clay, the speed of the wheel, where your hands are actually pushing, and how much water is sitting on the mound. Learn to read which one is out of balance and the wobble stops being a personal insult. It becomes information.
Check the Clay Before You Blame Your Hands
No amount of technique rescues bad clay. If the clay is stiff and cold from a bag that has sat in a garage all winter, it will fight you for twenty minutes and then crack at the rim. If it is too wet and sticky, it slides around under your palms and collapses as soon as you apply pressure. Aim for something that dents under your thumb without smearing, roughly the softness of a firm earlobe.
Two fixes cover most situations. Clay too stiff: slice it into thin slabs, sprinkle lightly with water, bag it and leave it for a day so the moisture evens out. Clay too wet: spread slices on a plaster bat or a clean concrete floor for half an hour, then re-wedge. Never add water to a whole block and expect it to distribute overnight.
Shape matters just as much. Form a rounded dome, not a pointed cone and not a cylinder with a flat top, then throw it down firmly and squarely onto the wheel head. A ball that sits slightly off-center will wobble no matter how good your hands are. For your first hundred pots, weigh out a single manageable lump — around a kilo — rather than pushing a two-kilo mass around the head.
Wheel Speed Is a Dial, Not a Setting
Beginners tend to pick one speed and stay there, usually the one the person next to them is using. Speed should change with each stage, and the rule of thumb is simple: fast enough that the clay does not have time to fight back, slow enough that you can see what is happening.
When you slam the clay down and seat it, a moderate speed is plenty. For coning up, most potters go faster — the clay rises in a matter of seconds and your hands only guide it. As you press the cone back down and start centering properly, slow the wheel a little. When you open the mound and pull walls later, slow it further; a good pulling speed is often much slower than beginners expect, closer to a lazy, steady rotation.
Watch for the two classic speed errors. Too fast and centrifugal force pushes the clay outward faster than you can correct it, so your hands skim the surface without ever controlling the mass. Too slow and your hands dig in, applying torque to the lump instead of smoothing it, which produces a distinctive spiral twist that never quite goes away. If the surface squeaks or the clay drags against your palm, you are usually too slow or too dry.
Hand Pressure: Bracing Beats Squeezing
The most common centering mistake is squeezing with the fingers and wrists. Centering is done with the whole body. Sit close to the wheel, tuck your elbows into your thighs or hips, and let your torso carry the force. If your shoulders are up around your ears after thirty seconds, you are working too hard and your pressure is probably uneven.
You also need opposition. Pushing on one side of the clay without an equal counter-pressure on the other simply moves the lump across the wheel head. The standard position: the heel of your left hand low on the left side of the mound, the heel of your right hand over the top and slightly to the right, fingers overlapping so the clay is trapped between them. Both hands push toward the center of the wheel at the same time.
Small, repeated corrections are far more effective than one heroic squeeze. Rest your hands on the mound for a full rotation and just feel where it is rising and falling. Then apply pressure where it is high. Many beginners center the clay in a few passes and then destroy it by adding one extra firm push out of nervousness. When the mound stops pushing back against your palms, stop.
Water Is a Lubricant, Not a Tool
Water lets your hands glide over the clay so you can feel the shape rather than dragging against it. That is its whole job. Pouring water onto the mound does not help you center faster; it turns the surface into slip, and slip has no structure. Too much water and the clay slumps, loses its ability to stand up in the wall, and sticks to your fingers at the worst possible moment.
Keep a sponge in a bowl beside you and wet your hands, not the clay. A quick dip of the fingertips is usually enough for several rotations. If a puddle forms at the base of the mound, sponge it out before continuing.
If the clay becomes slimy and slick, stop adding water immediately. Give it a moment, then run a rubber rib gently up the side to lift the excess slip away, and finish the centering pass with nearly dry hands. The last few rotations are often best done with just a hint of moisture — that is when you feel the true shape of the mound rather than a film of slurry.
A Quick Diagnostic Checklist
When the wobble appears, identify the symptom before you change anything. Most problems have one obvious first adjustment.
- Only the top of the cone wobbles: the cone is off. Press it back down with both heels of your hands and start again.
- The whole mass moves as one piece: it is not seated on the wheel head. Cut it off, re-wedge, and throw it down again more firmly.
- The wobble starts the moment you add water: too much water, and the clay is beginning to slump. Sponge out the excess and dry your hands.
- The wobble starts when you press: uneven pressure. One hand is working harder than the other, usually because one elbow is not braced.
- The clay leans toward you: your pressure is coming from the front only. Shift your body weight forward and push toward the center of the wheel.
- The surface drags or squeaks: too dry, or the wheel is too slow. A fingertip of water and a small speed increase usually resolves it.
When to Cut It Off and Start Over
There is a point where continuing costs more than restarting. If you have been working the same lump for ten or fifteen minutes and it is still fighting, cut it off the wheel head with a wire, wedge it briefly and begin again. Clay that has been over-worked and over-wetted will not center properly, and the frustration carries into the next attempt.
Cutting off is not failure. It is the fastest way to reset your hands, your posture and your patience.
A Short Practice Routine
Centering is a physical skill, and it improves fastest when you practice it on its own rather than as the first step of a pot you are anxious to finish. Set aside twenty minutes in a session for centering only.
- Weigh out one lump and wedge it until the texture feels even.
- Form a rounded dome and throw it down dead center.
- Cone up and down three times, changing speed only when the clay asks you to.
- Center with braced arms, wet hands and small corrections, then stop.
- Cut the lump off and repeat with the same piece of clay.
Do that five times in a row and you will notice something useful: your hands start to recognize the moment the clay goes true, before your eyes do. That feeling is what you are actually practicing. Once you can produce it on demand, opening and pulling walls become a great deal less dramatic — and the wobble that used to ruin your afternoon turns into a small, fixable detail.
Photo: Vitaly Gariev / Pexels